
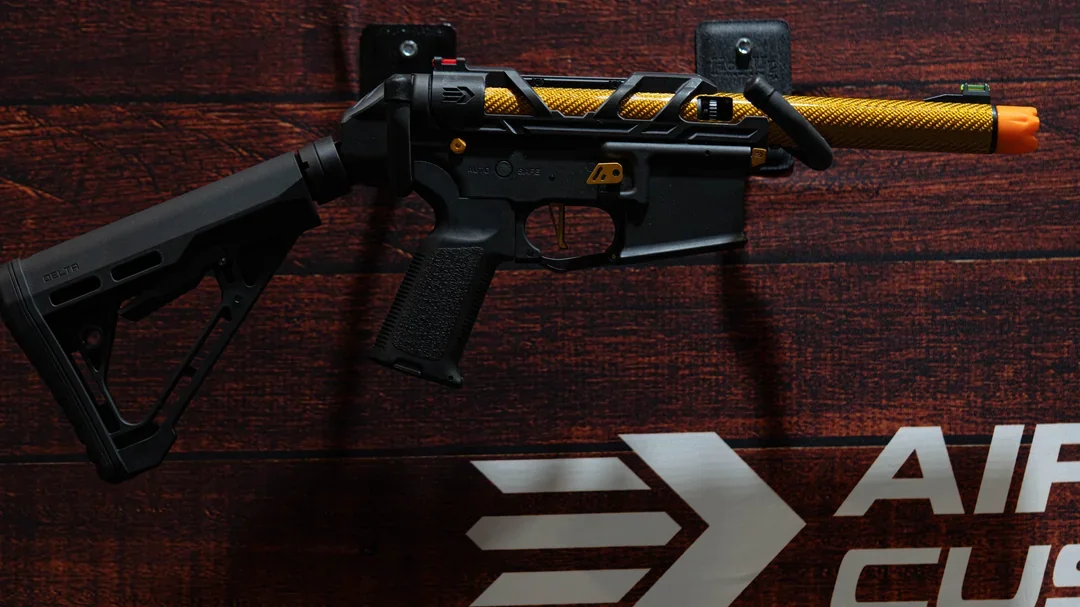
This build is designed to perform at a high level with the bare minimum upgrades necessary to meet my standards. I personally used this setup for two weeks and was extremely pleased with the results. The goal of this build is semi-auto responsiveness. It will keep up with how fast you can pull the trigger—you'll never feel it holding you back. It fires at around 28 rounds per second (RPS), depending on your battery, and delivers approximately 380 FPS.
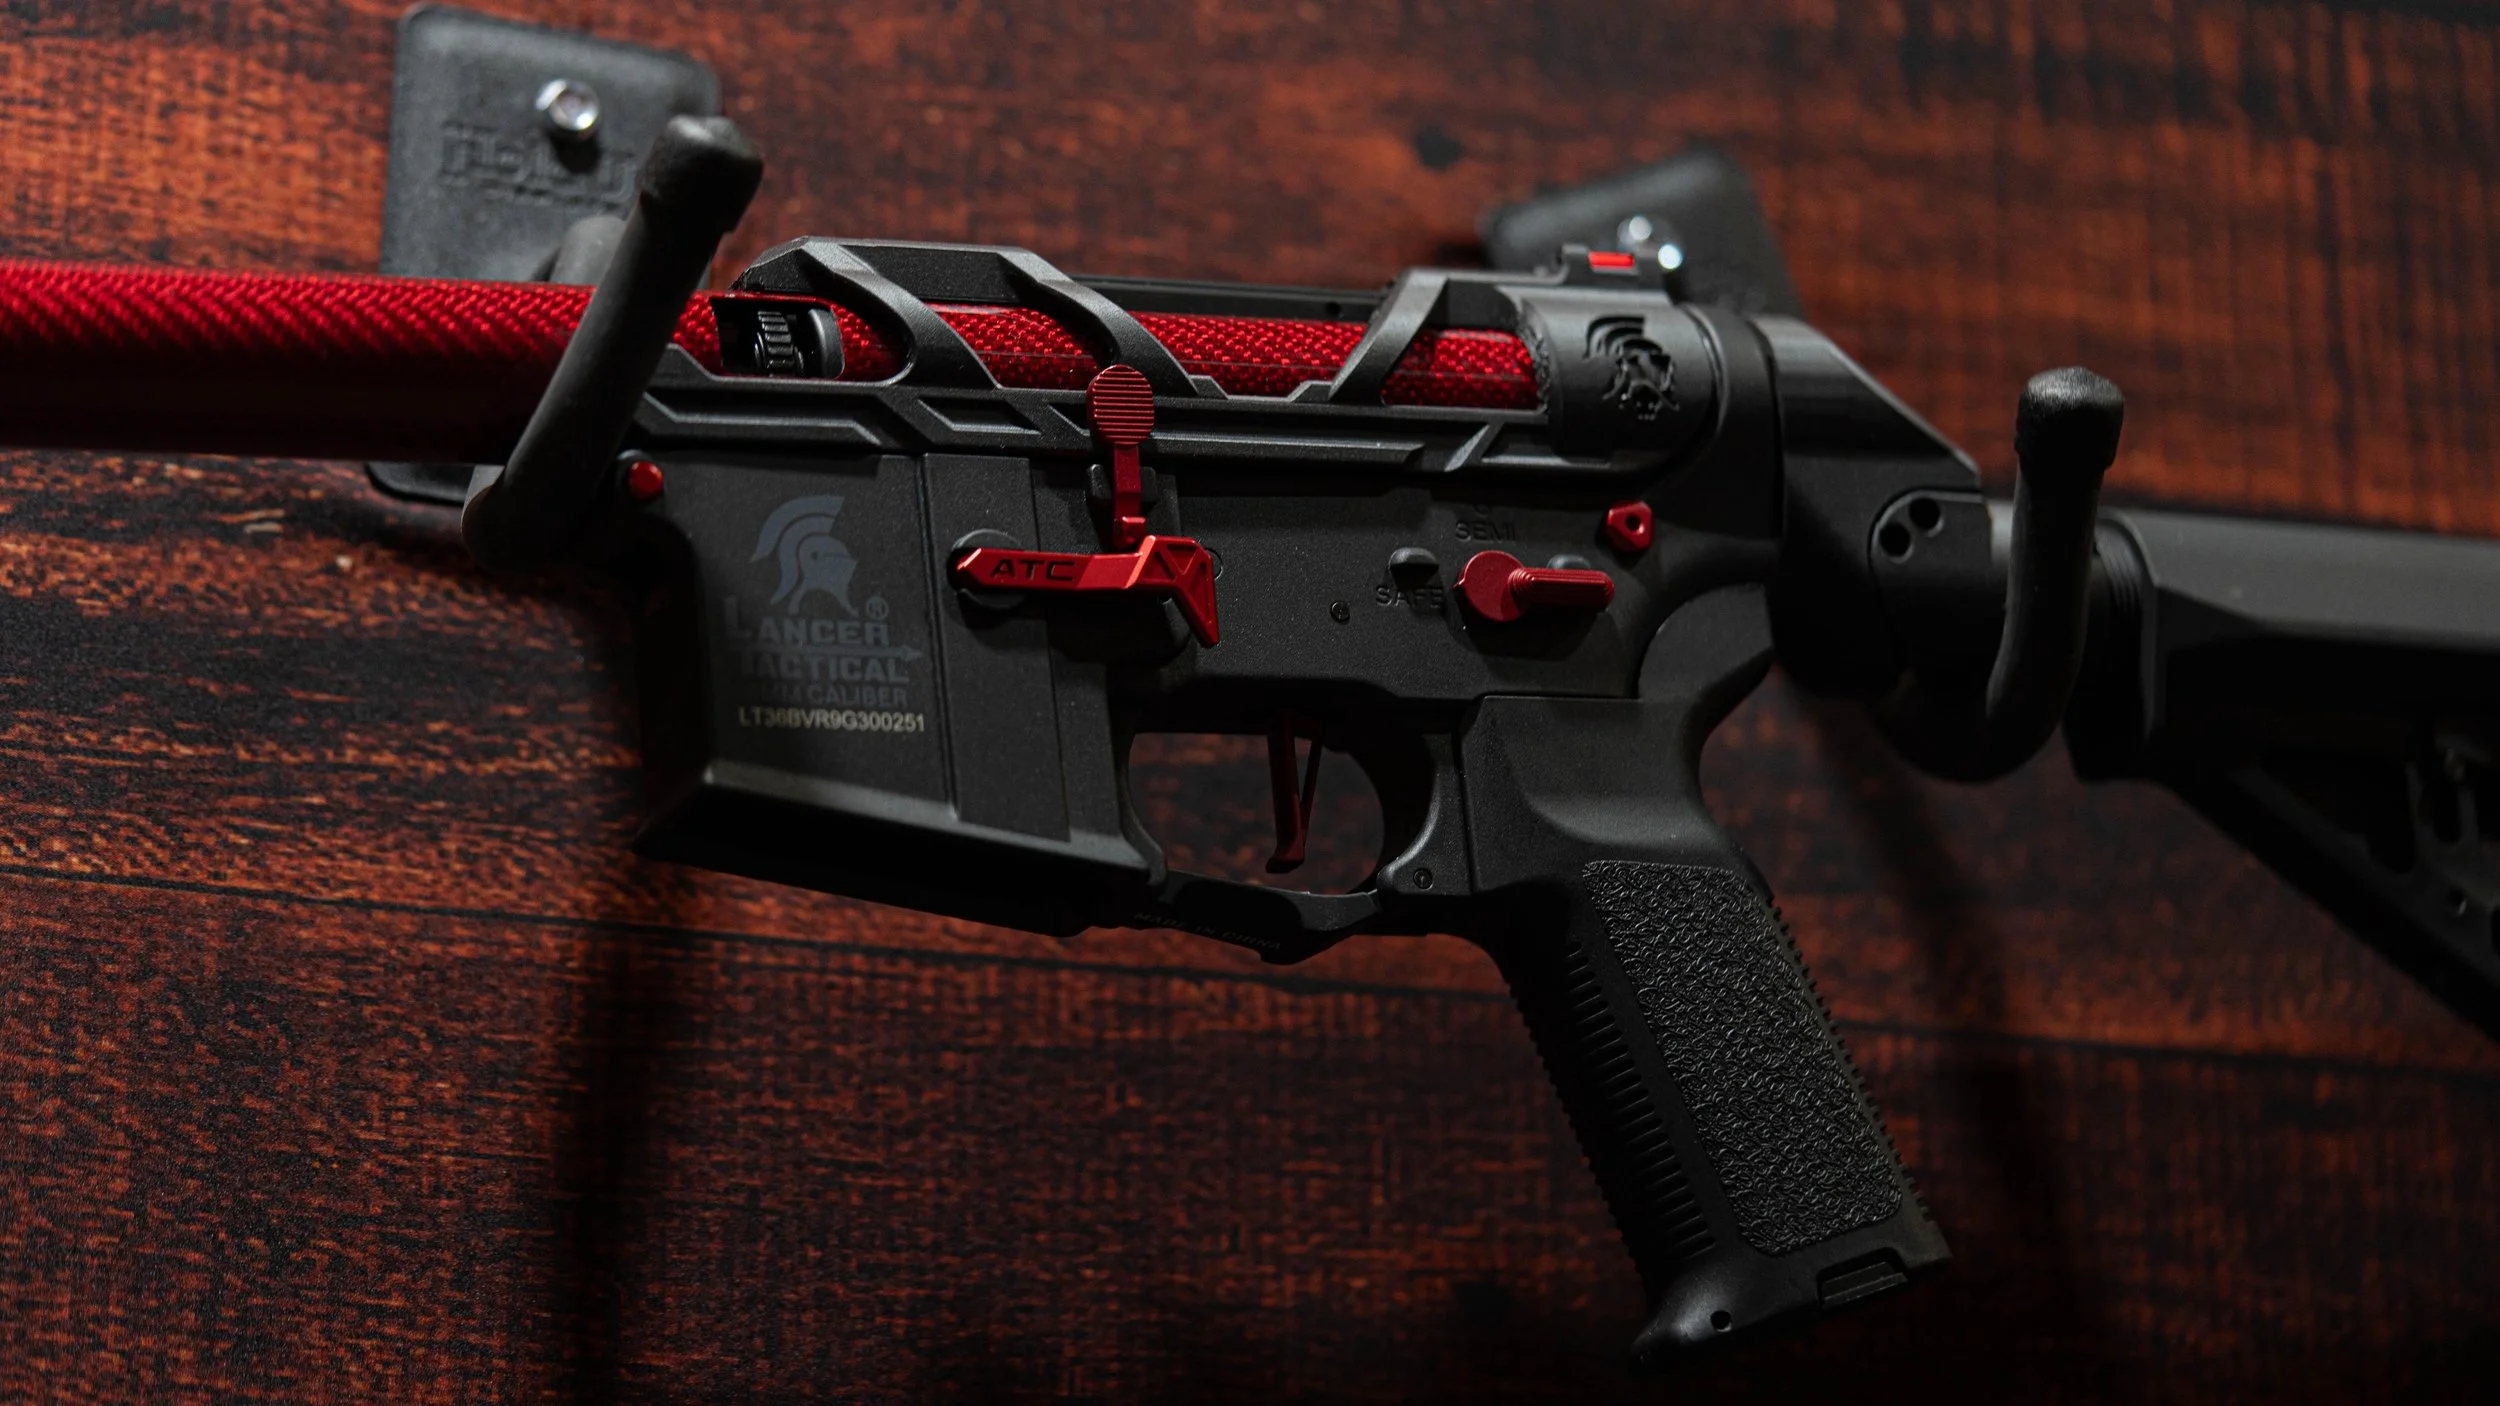
To keep costs down while maintaining performance, I modified many of the original parts to meet my standards.
Step 1: Disassembly and Cleaning
The first step was a full teardown and deep clean. All the factory gunk is gone!
Motor Replacement
The stock motor was simply unusable, so I replaced it with the tried-and-true Real Deal Golden Boy motor.
Gears
I kept the original 18:1 gears, thoroughly cleaned and polished them, and inspected for any imperfections. If any gear wasn't in perfect condition, it was replaced. I then shimmed the gear set for optimal performance and smooth operation.
Bushings
I chose to keep the bushings in the gearbox shell to maximize long-term reliability—bulletproof and dependable.
Piston Work
The original SHS clone piston was lightened to reduce gearbox stress and improve efficiency. I also adjusted the angle of engagement (AOE) using a spacer and removed the second tooth to optimize performance.
Nozzle Upgrade
The original nozzle was swapped for a 21.1mm POM nozzle to achieve a perfect air seal. (If you select the upgraded hop-up option, this will be changed to a 21.0mm nozzle.)
Perun Pro Upgreade recomended
If you opt for the Perun Pro upgrade (which I highly recommend), I can also modify the original trigger to have the trigger feel, just like it would normally be on safe.
.
This build is designed to perform at a high level with the bare minimum upgrades necessary to meet my standards. I personally used this setup for two weeks and was extremely pleased with the results. The goal of this build is semi-auto responsiveness. It will keep up with how fast you can pull the trigger—you'll never feel it holding you back. It fires at around 28 rounds per second (RPS), depending on your battery, and delivers approximately 380 FPS.
To keep costs down while maintaining performance, I modified many of the original parts to meet my standards.
Step 1: Disassembly and Cleaning
The first step was a full teardown and deep clean. All the factory gunk is gone!
Motor Replacement
The stock motor was simply unusable, so I replaced it with the tried-and-true Real Deal Golden Boy motor.
Gears
I kept the original 18:1 gears, thoroughly cleaned and polished them, and inspected for any imperfections. If any gear wasn't in perfect condition, it was replaced. I then shimmed the gear set for optimal performance and smooth operation.
Bushings
I chose to keep the bushings in the gearbox shell to maximize long-term reliability—bulletproof and dependable.
Piston Work
The original SHS clone piston was lightened to reduce gearbox stress and improve efficiency. I also adjusted the angle of engagement (AOE) using a spacer and removed the second tooth to optimize performance.
Nozzle Upgrade
The original nozzle was swapped for a 21.1mm POM nozzle to achieve a perfect air seal. (If you select the upgraded hop-up option, this will be changed to a 21.0mm nozzle.)
Perun Pro Upgreade recomended
If you opt for the Perun Pro upgrade (which I highly recommend), I can also modify the original trigger to have the trigger feel, just like it would normally be on safe.
.